WHAT IS THE NEXT STEP?
In my last blog I talked about a variety of graphic organizers and I focus on Mind Dumps. In this post I want to go more in depth on how to use graphic organizers that will make your lessons more interactive and successful. So the graphic organizer I will be talking about is “Mind Maps” which are “Mind Dumps” on steroids, and as always I will explain how I incorporate them in my classroom. However, before we begin with Mind Maps it is important to see how all these graphic organizers connect to both the lesson and the topics within the lessons. As mentioned above last week I talked about “Mind Dumps”, which are in all practicality a way for your students to write down everything they know about a specific topic you plan to cover in the unit. This is always better to do before presenting any information at all about the topic. Also as mentioned above I transition the students into the next type of graphic organizer or better known as Mind Maps. It is as it sounds in general but more about that later. As a good practice for my Third Graders I also incorporate a “Think Aloud” strategy to model how to do a Mind Map which is really easy to do. Essentially the students write down all the things they have learned onto a piece of white paper. Then, in the next lesson the students use their Mind Dump along with their notes and textbook if available to make a full fledged Mind Map.
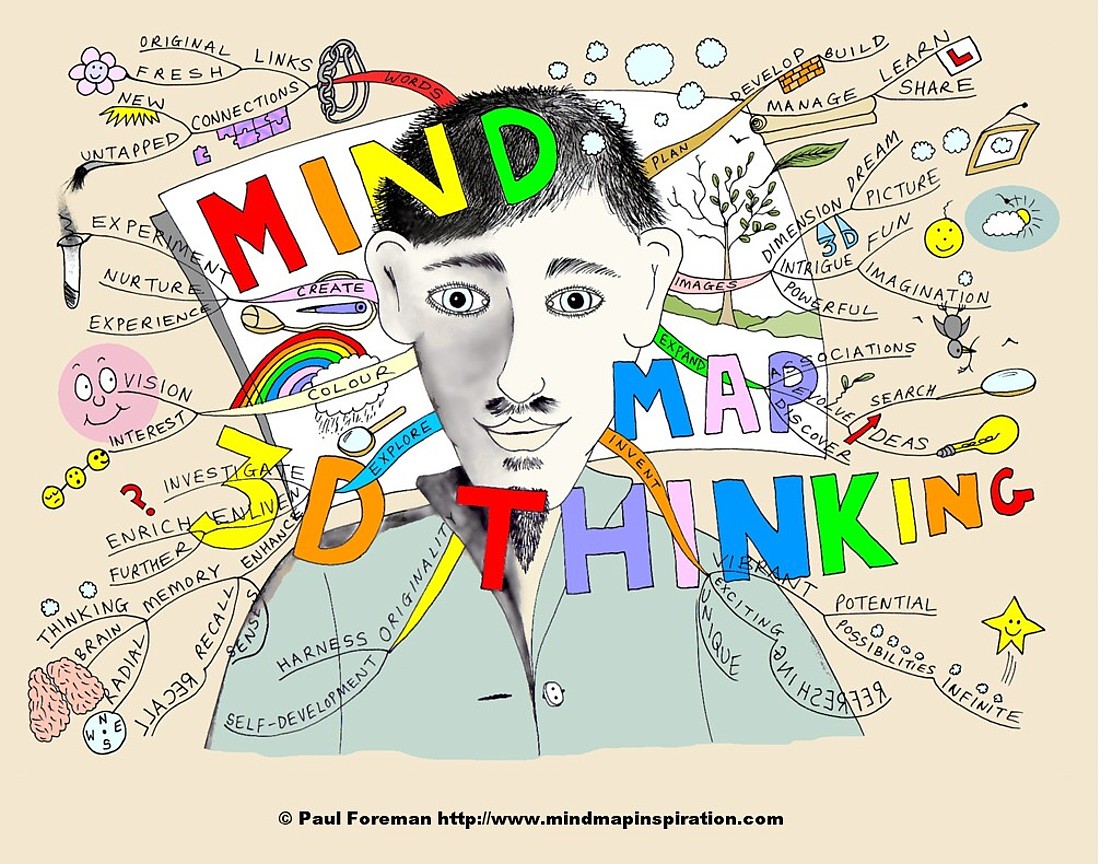
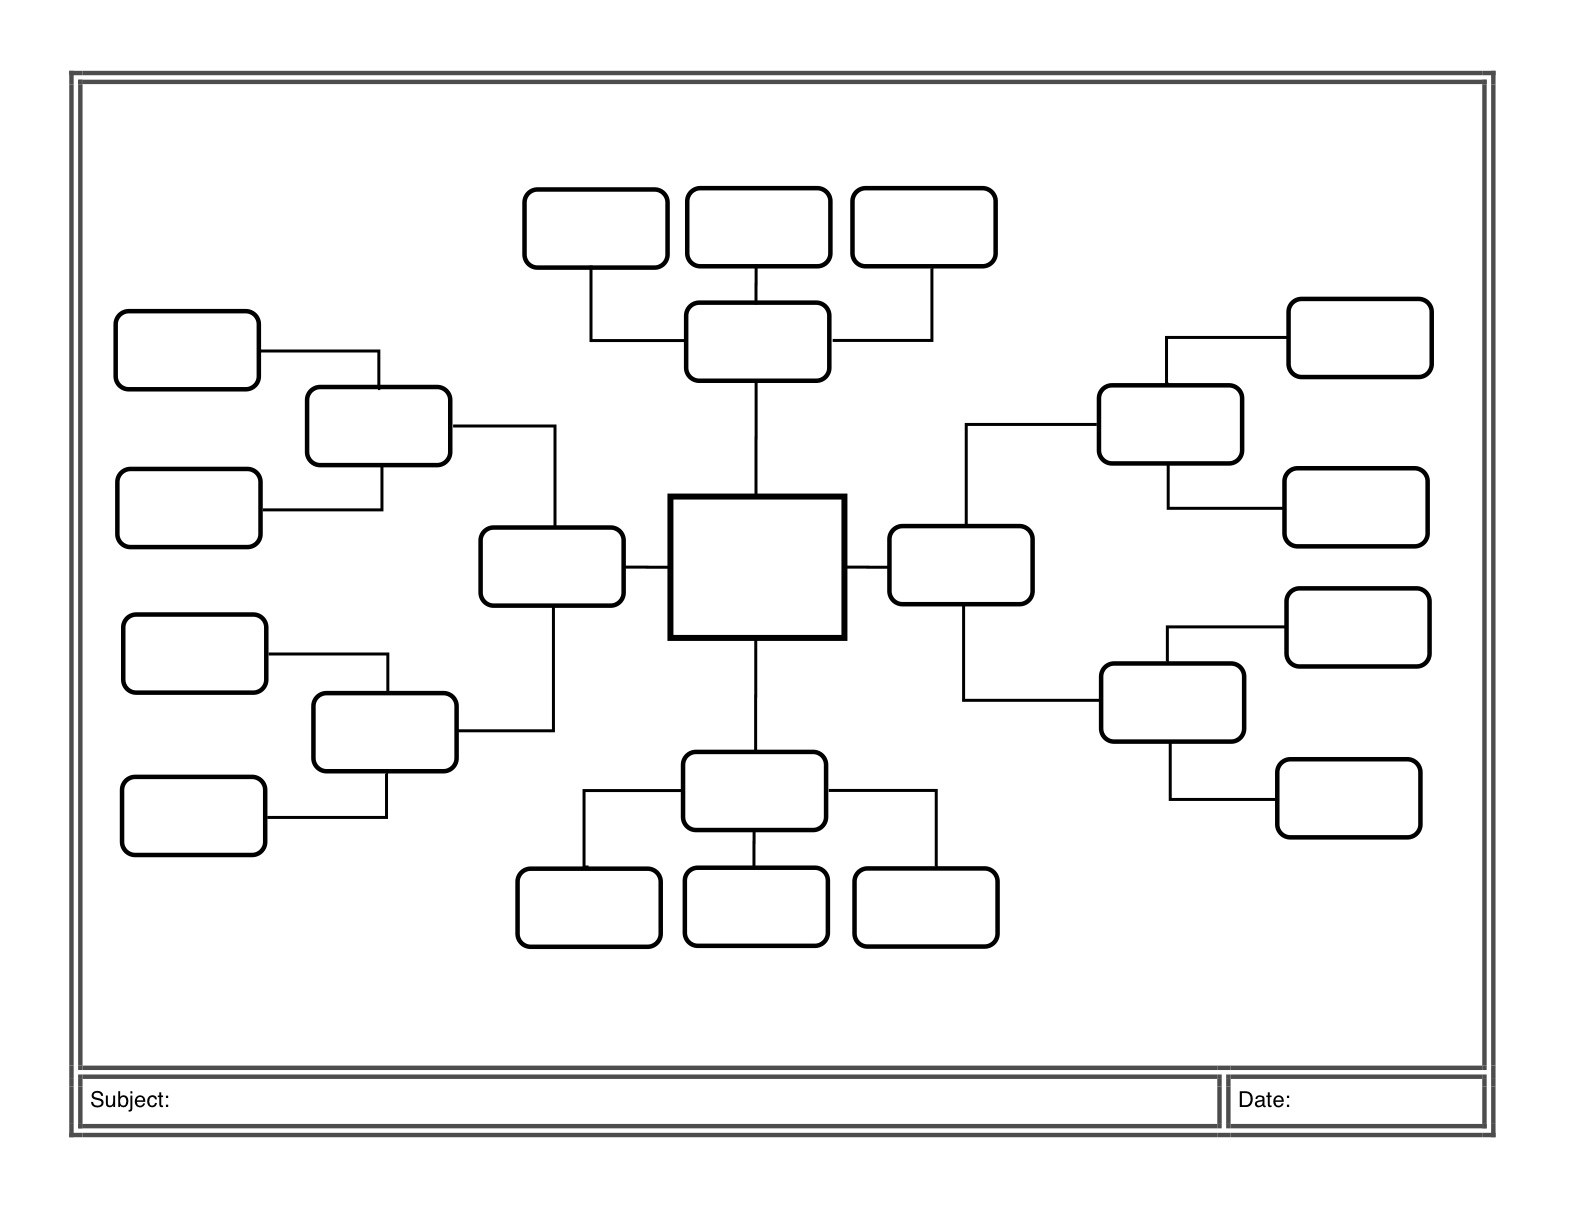
HOW TO MAKE A MIND MAP?
Once you have discussed the topic in class and after the students have done the Mind Dump with ample notes,(which all can be used as an assessment to find their level of knowledge on the concept you first taught), you will most likely find that some students may need a little more reinforcement. To do this and to take advantage of a prime opportunity we teachers often find ourselves in called, “the art of reteaching”, which is done by conducting a second general class discussion on the topic. Keep in mind third graders and most students in the lower grades love to draw. So the next logical move for any smart teacher would be to reteach the lesson by employing a, “fun activity / strategy”, that keeps the student unaware that real learning is happening because they are having fun. This is where the Mind Map comes into play because it allows students to structure their ideas in a very, “interactive / engaging”, way. What Mind Maps allow the students the opportunity to do is use their color pens to connect visually with the central topic and all of its supporting details by making the connections between them starting with the main topic and labeling everything including the lines they draw between each supporting topic. In this way you will see what the student really know about what you have been discussing within the classroom and it helps to create new and stronger relationships with the core knowledge being illustrated on paper.
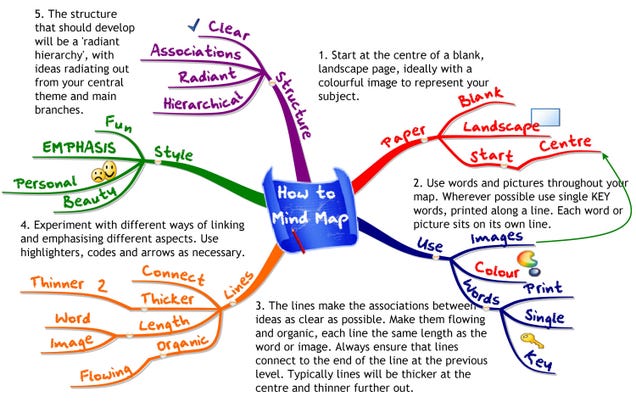
So, now envision a blank piece of paper. The paper needs to be landscape position. One way to ensure students always take credit for their own work is to have them write their name on the back of the sheet of paper along with learning targets and standards. Now students flip it over and in the center they place the central topic of study. Then, the students write the major themes around the central topic and they draw lines that connect to the central topic of study. Then, the major topics branch out and the students can write facts, symbols, pictures, examples, definitions etc anything that relates to the major theme. The Mind Maps promotes the following skills: brainstorming, problem solving, organization, memorization, creativity, and visual thinking.
SUMMARY
At the beginning of the year I did a lot of modeling, think aloud, and unsticking questions during the process of making a Mind Map. The students can do as many major themes as they want and as many branches as they want. You do not want to limit their thinking. This allows the students to write their ideas on a piece of paper and they can keep it in their interactive notebook. In addition, you want the students to share with a classmate and add or correct any misconceptions. I love Mind Maps because it teaches students to organize their ideas in a creative and visual way. The amazing thing is that students can keep their Mind Map and reference it during a quiz, homework, classwork, or while completing class projects.
RESOURCES ON MIND MAP

STUDY WITH MIND MAPS- CLICK HERE
MAKING A MIND MAP USING WORD- CLICK HERE
